It’s easy to take ketchup for granted. To just assume it will always be there. But once our all-American burger and fries arrive, if we don’t have ketchup we have a problem.
Of course there are other uses for ketchup, many of which are in the form of hacks and secret family recipes, where a little ketchup here or there goes a long way, and nobody notices, in the beef stew, borscht, Bloody Mary or beyond. Ultimately, ketchup is a low-fuss steak sauce for the common people who take their meat in burger and dog form. That same thick, tangy sweetness makes it a great dipping sauce for the people’s preferred deep fried potatoes. President Reagan once called ketchup a vegetable, during a food fight over school budgets, and thankfully that did not fly, although he did have a point. My homemade ketchup is absolutely a vegetable.
Homemade ketchup is as much better than Heinze as Heinze is better than all the other commercial brands. And this time of year, when tomatoes are overflowing, a batch of ketchup is a good allocation of this resource. A modest batch can last a year. The homemade version explodes with flavor, and when I compare mine to Heinz in a side-by-side, I make a bitter face and call it “cardboard” in an angry French accent.
I first made ketchup by following a recipe in the classic “Stocking Up” food preservation manual. Until then I never thought about the delicate layers of flavor it delivers. Sweet and sour are the dominant flavors, but the condiment has many more. A touch of spice. A touch of umami from the tomatoes, a hint of bitterness from the garlic and paprika, and aromatic spices like clove and cinnamon. Since then I have made the recipe my own. The concept is flexible. Taste and tweak as you go. If you follow my recipe, you’ll end up with a sauce so thick and meaty you won’t even need a burger.
Every fall when I do my big tomato processing push, I make sure to do a batch of ketchup alongside my pizza and pasta sauces. If I have the time I’ll start by halving the tomatoes and broiling them cut side down on cookie sheets until the skins blacken. I let them cool and then pluck off the stiff skins before whizzing the broiled tomatoes in the blender.
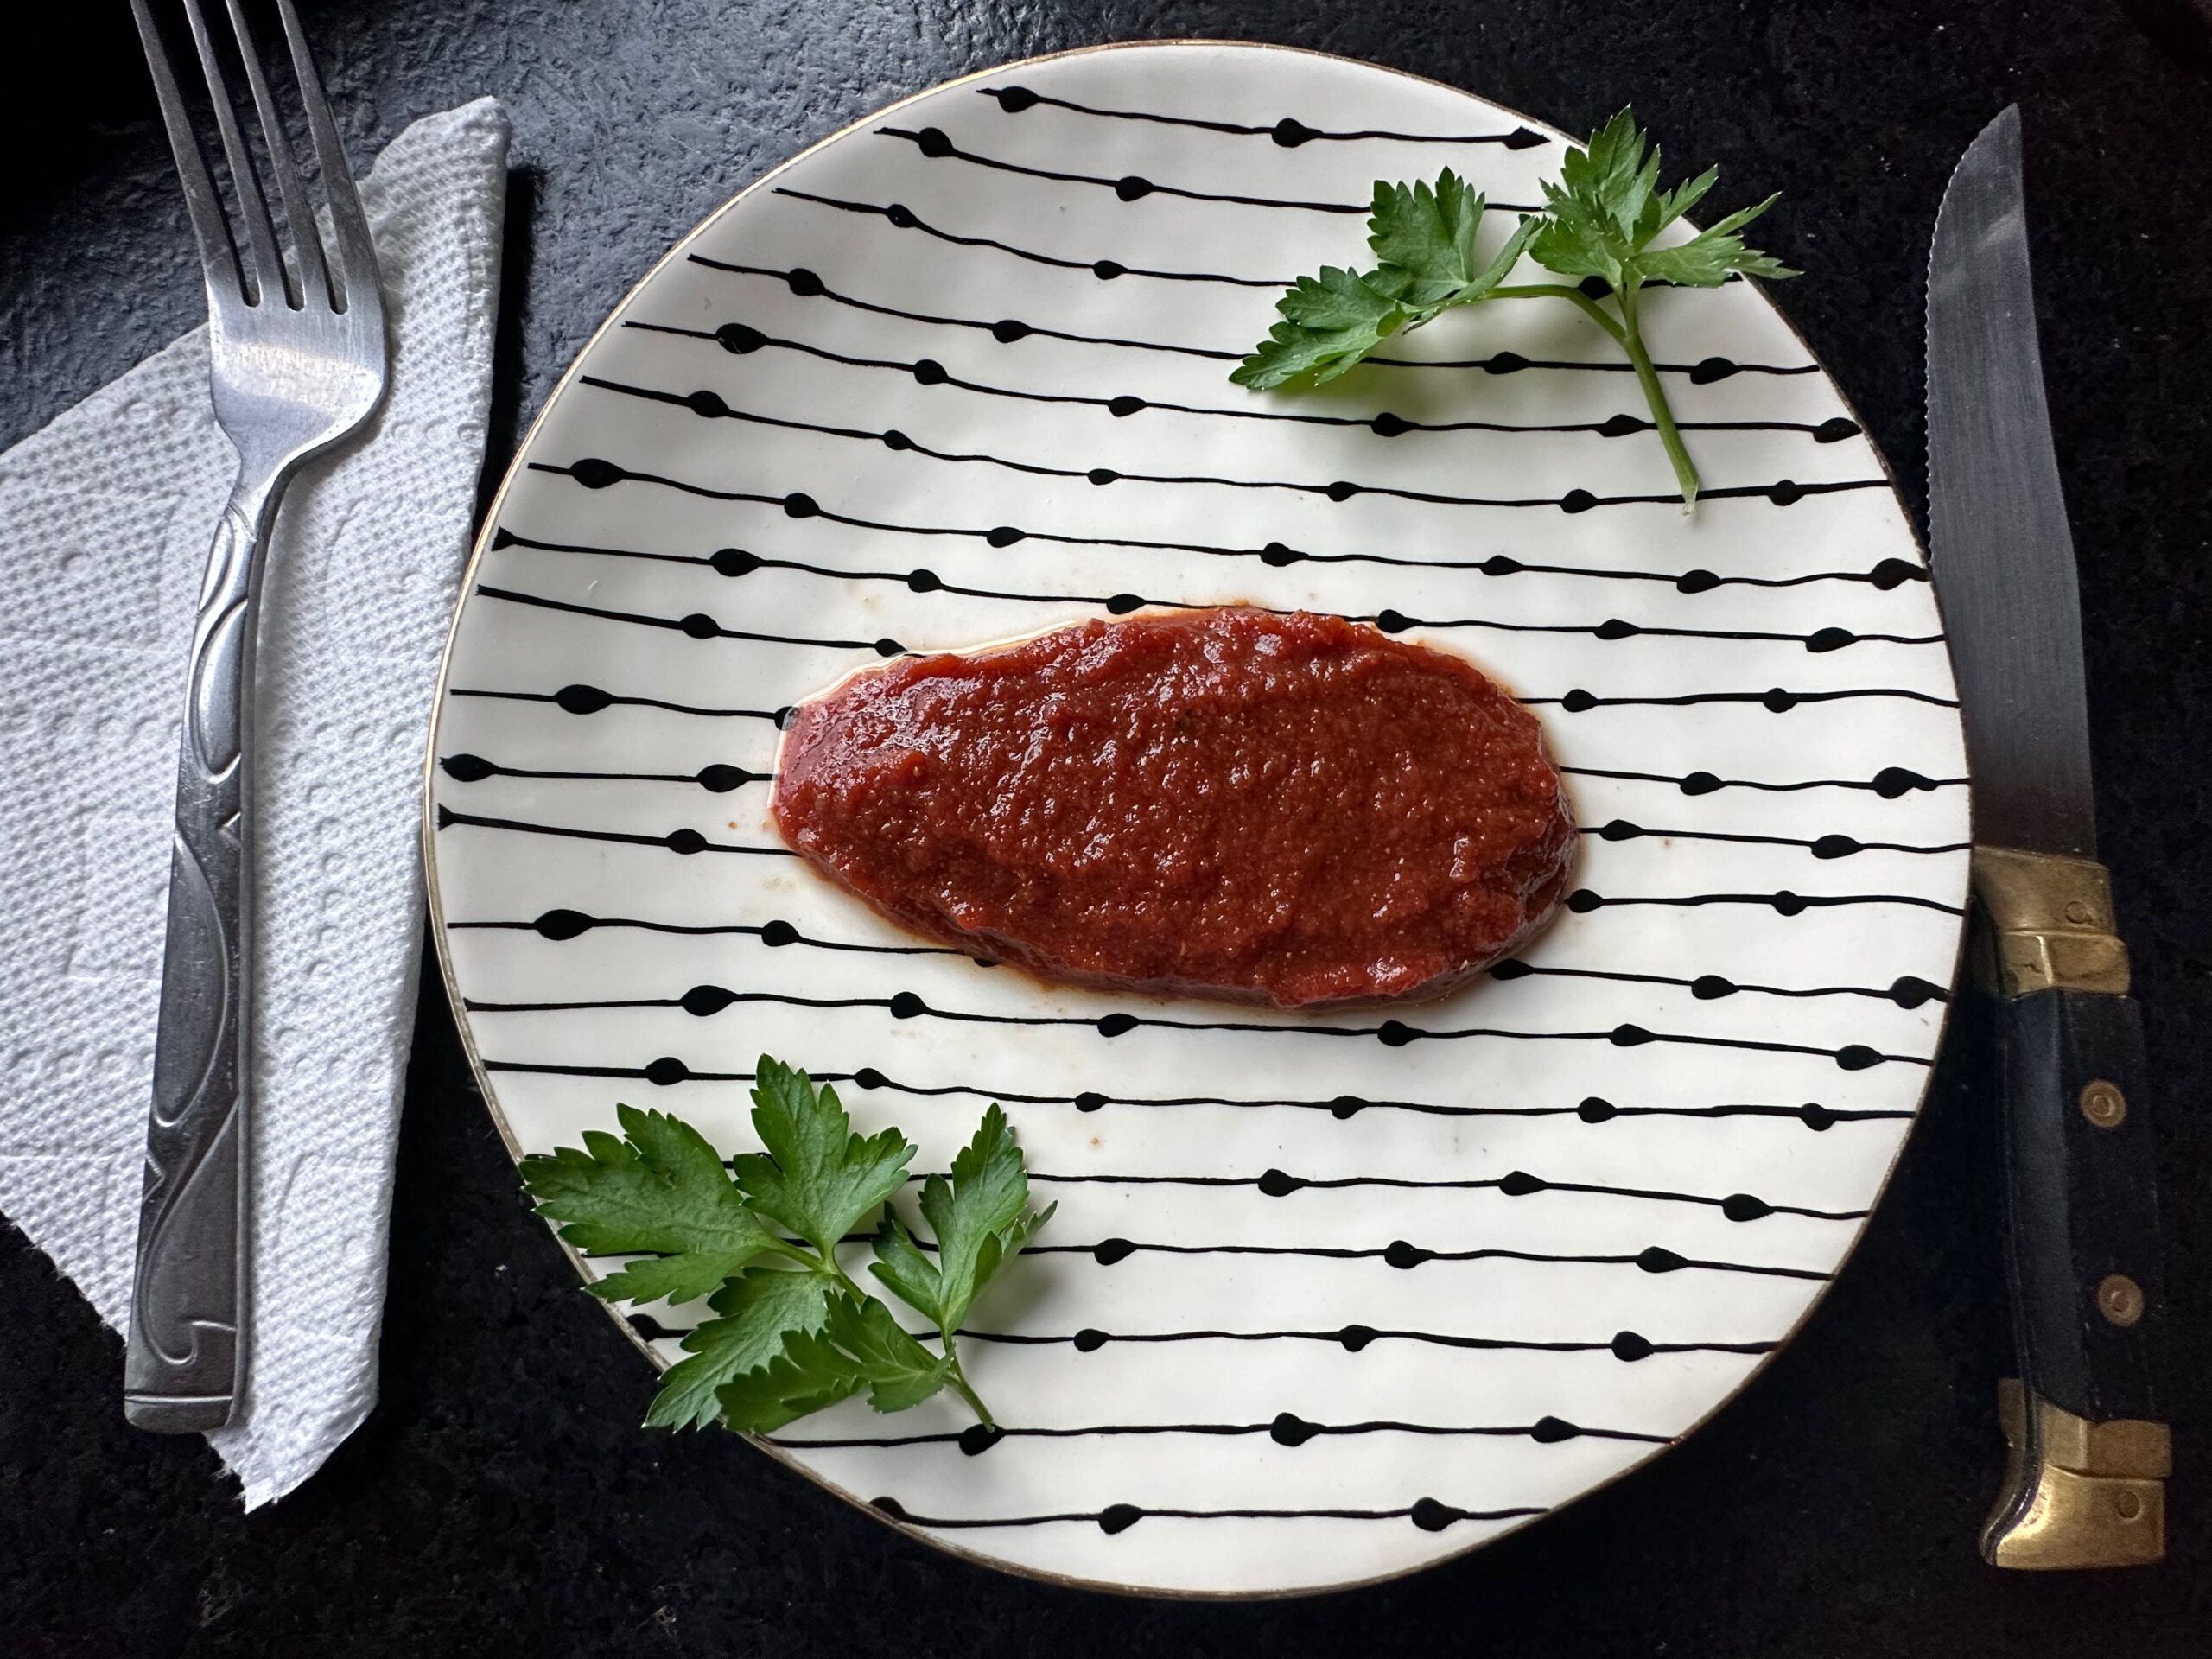
You don’t need to go that far, but you do have to get the seeds out, which means filtering the blended tomatoes. I use a mesh strainer and a rubber spatula to smear it through. My kids, impressed with the smoothness of my ketchup, now demand that all of my red sauces be equally smooth. But none are as quietly complex as my humble pot of ketchup.
Homemade Ketchup
The most tangy and flavorful ketchup you will ever try.
Makes two cups of ketchup
Ingredients:
- 1 quart blended tomatoes
- 1 cup of cider vinegar
- ¼ cup sugar
- ¼ teaspoon ground cinnamon
- ¼ teaspoon ground cloves
- 1 teaspoon garlic powder
- 1 teaspoon paprika
- 1 teaspoon salt
Instructions:
- Place the tomatoes in a food processor and liquefy them together until smooth. (Or, if you already have some tomatoes cooking for some other project, dip into those. I like to broil my tomatoes to get the peels off first, but that’s optional.)
- Push the blended tomatoes through a food sieve or food mill to remove the seeds and any other solids. I use a fine mesh strainer and a rubber spatula to push the pulp through. Return the strained mixture to the pot. Bring to a simmer.
- In a separate pot, combine the vinegar, sugar and seasonings. Bring to a simmer, then add it to the tomatoes.
- Simmer the ketchup, stirring often, until it thickens to a ketchup-like conistency. When you drop a spoonful on a clean plate it should not have a ring of reddish water around the ketchup. Lower the heat as it thickens. Once that water is gone, stop cooking. It will thicken further as it cools.
Your ketchup will last for months in the freezer, and almost as long in the fridge after you open it, thanks to the sugar and acid, both of which are preservatives. If you are canning your ketchup for the pantry, follow these steps:
- Prepare clean, sterile canning pint-jars and lids.
- Ladle the homemade ketchup into the prepared jars, leaving some headspace. Seal the jars with clean, sterile lids.
- Process the sealed jars in a water bath for 10 minutes to ensure proper preservation.
- Allow the jars to cool and check for proper sealing. Store any unsealed jars in the refrigerator and use them within a few weeks. Properly sealed jars can be stored in a cool, dark place for an extended period.